MTB Shuttles >
RAPTOR ROUTE TRAIL:
Raptor Route:
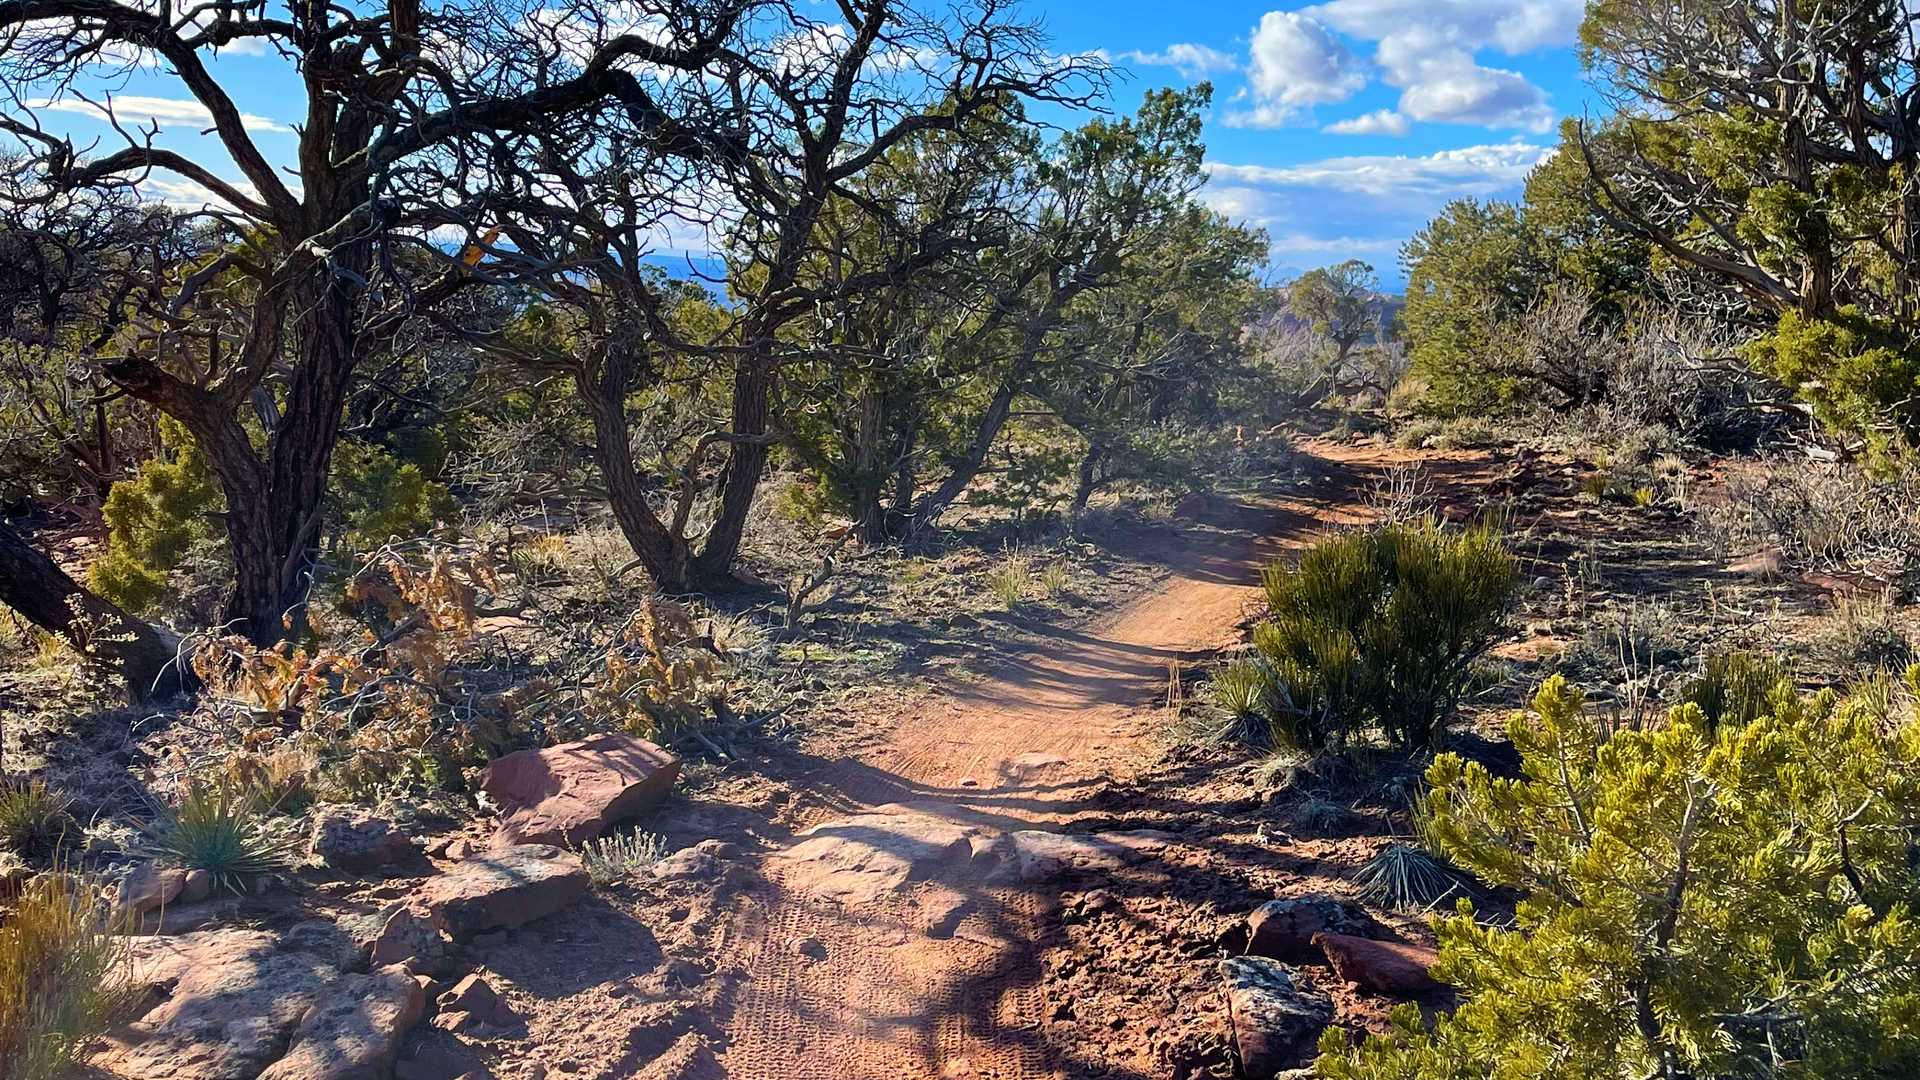
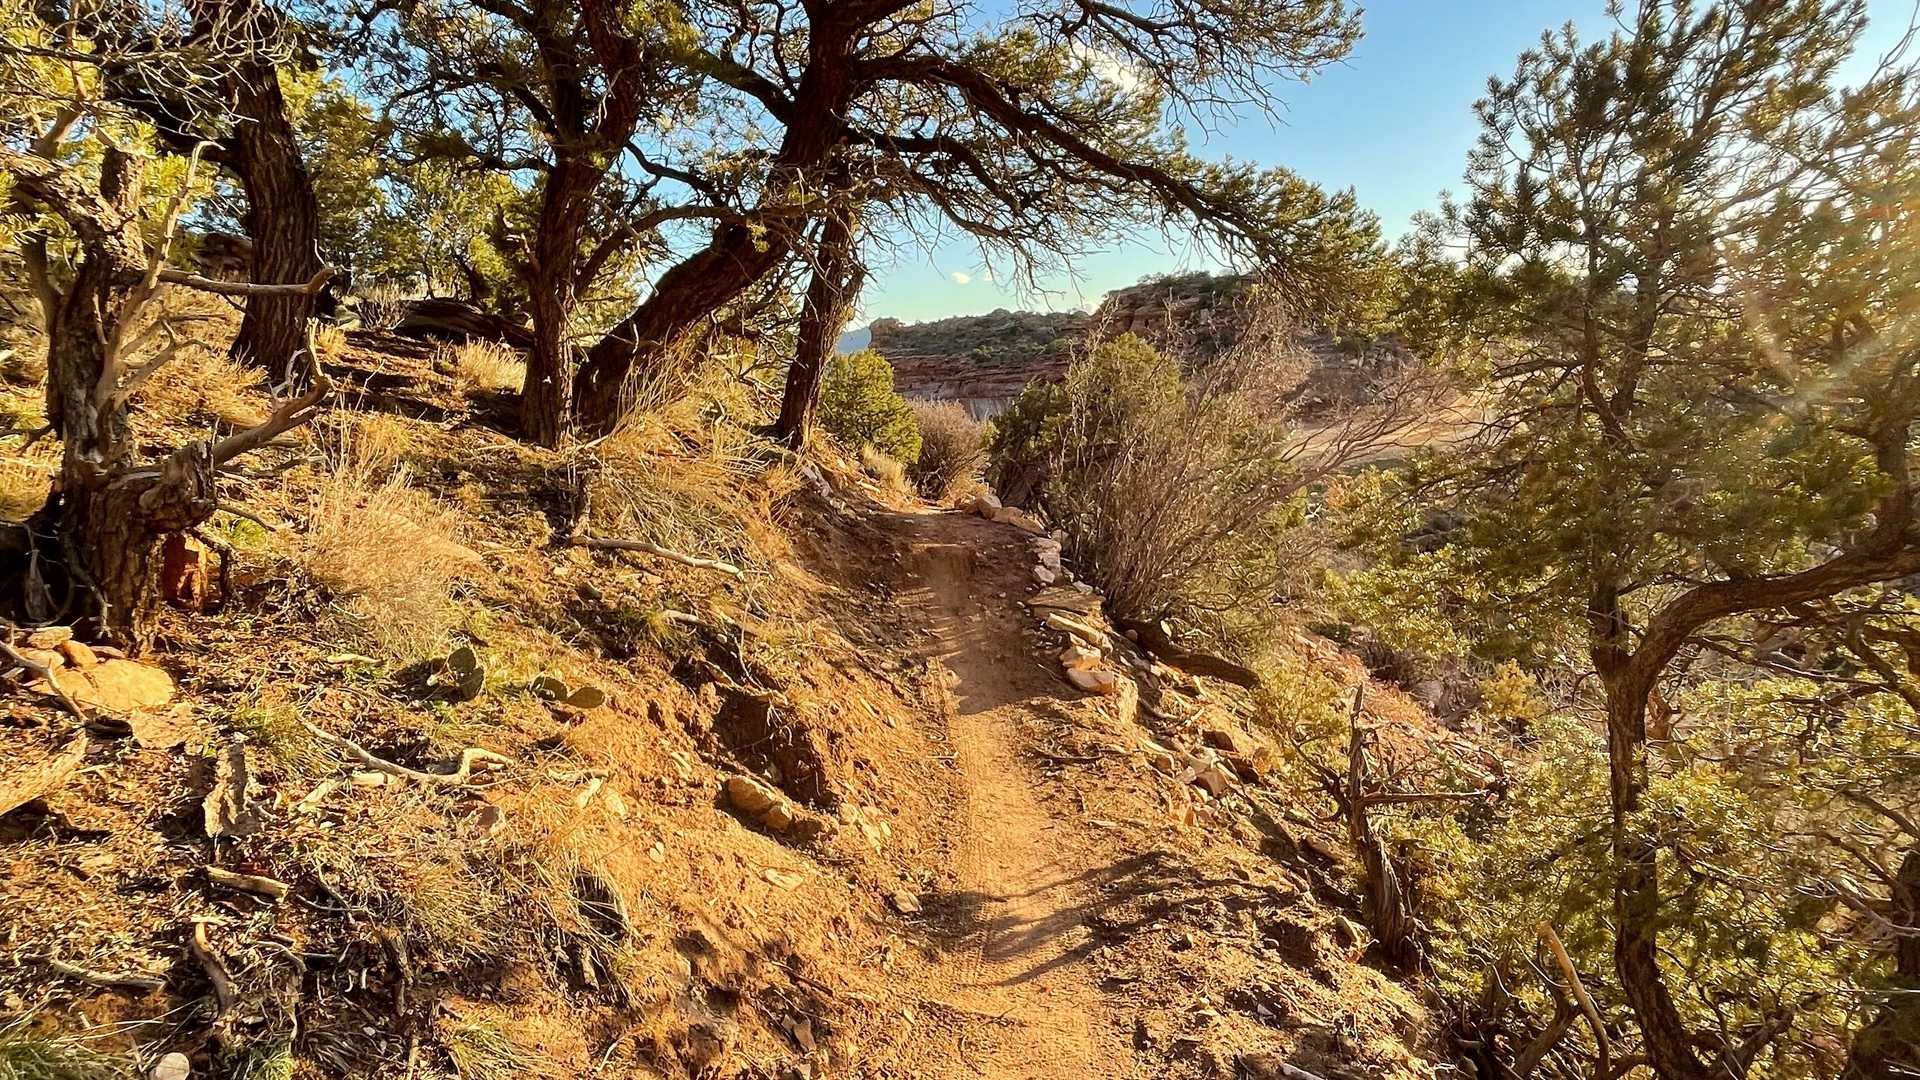
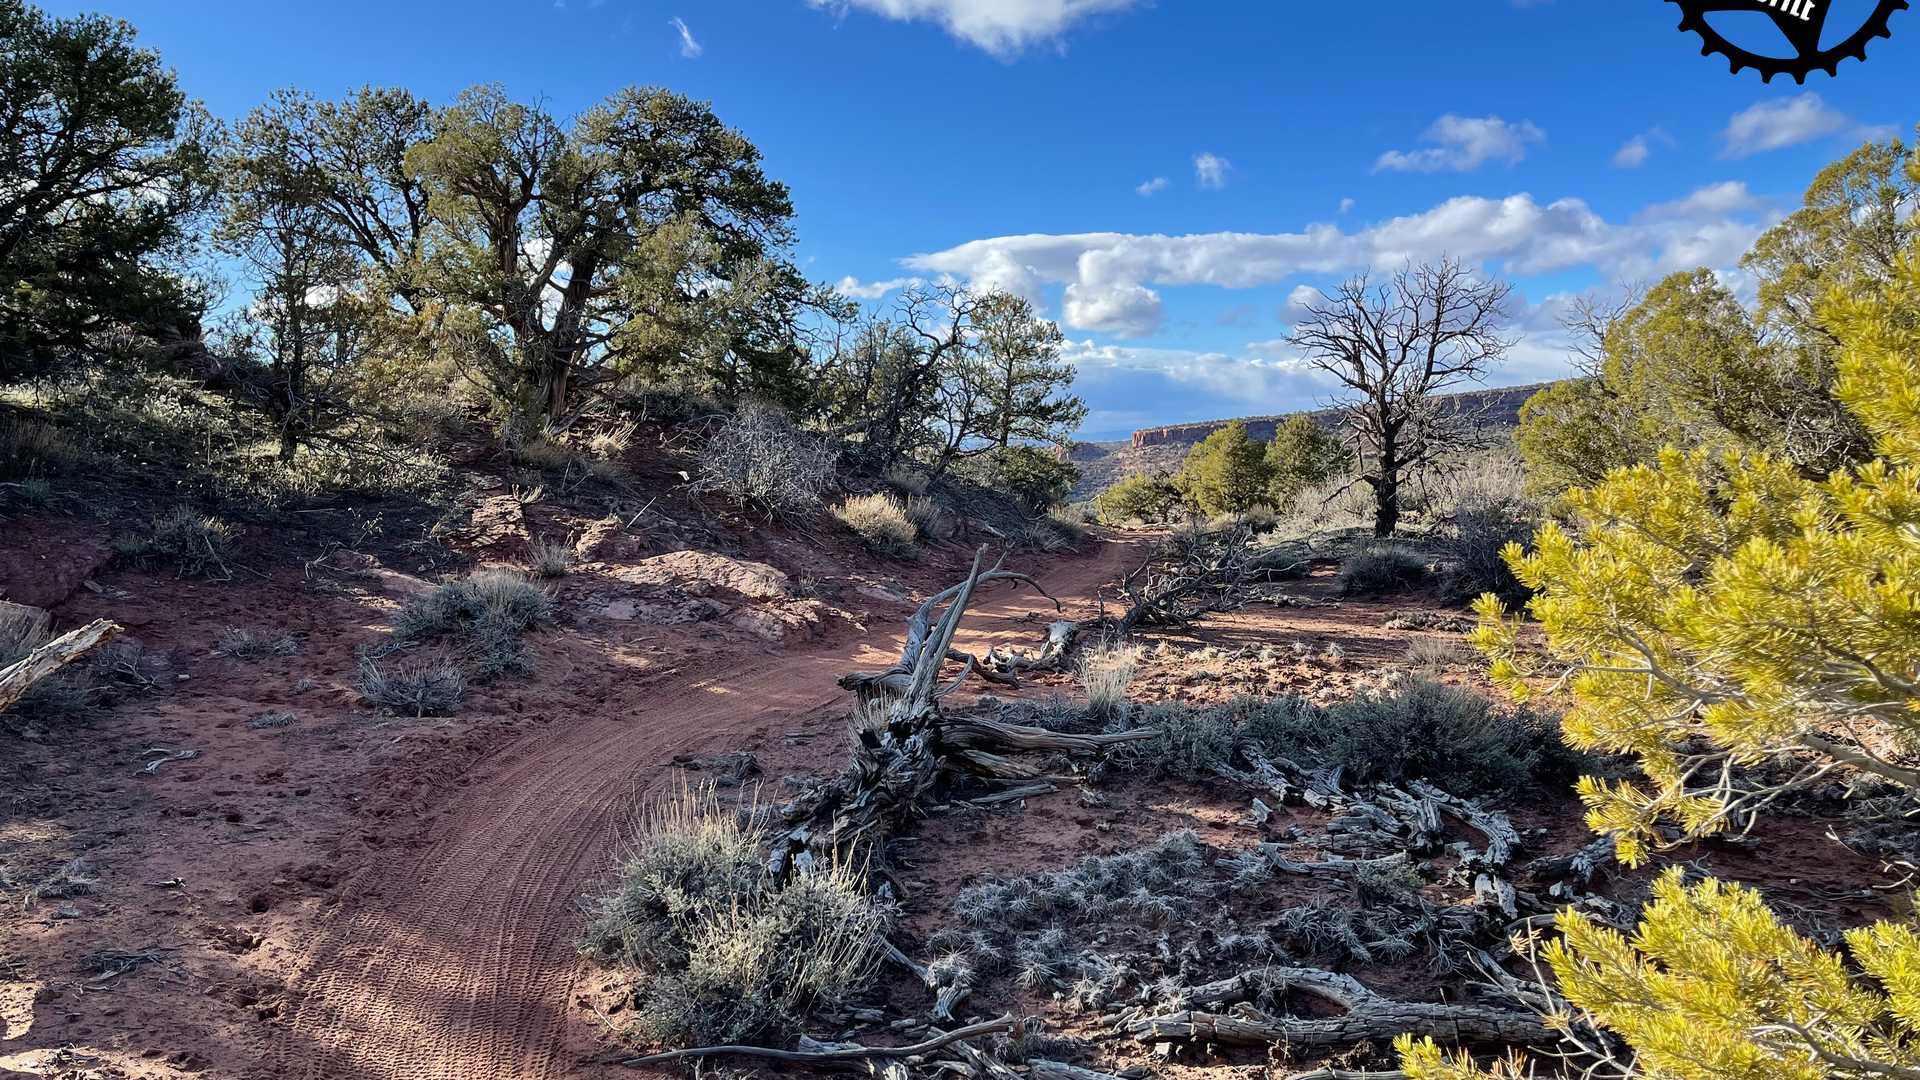
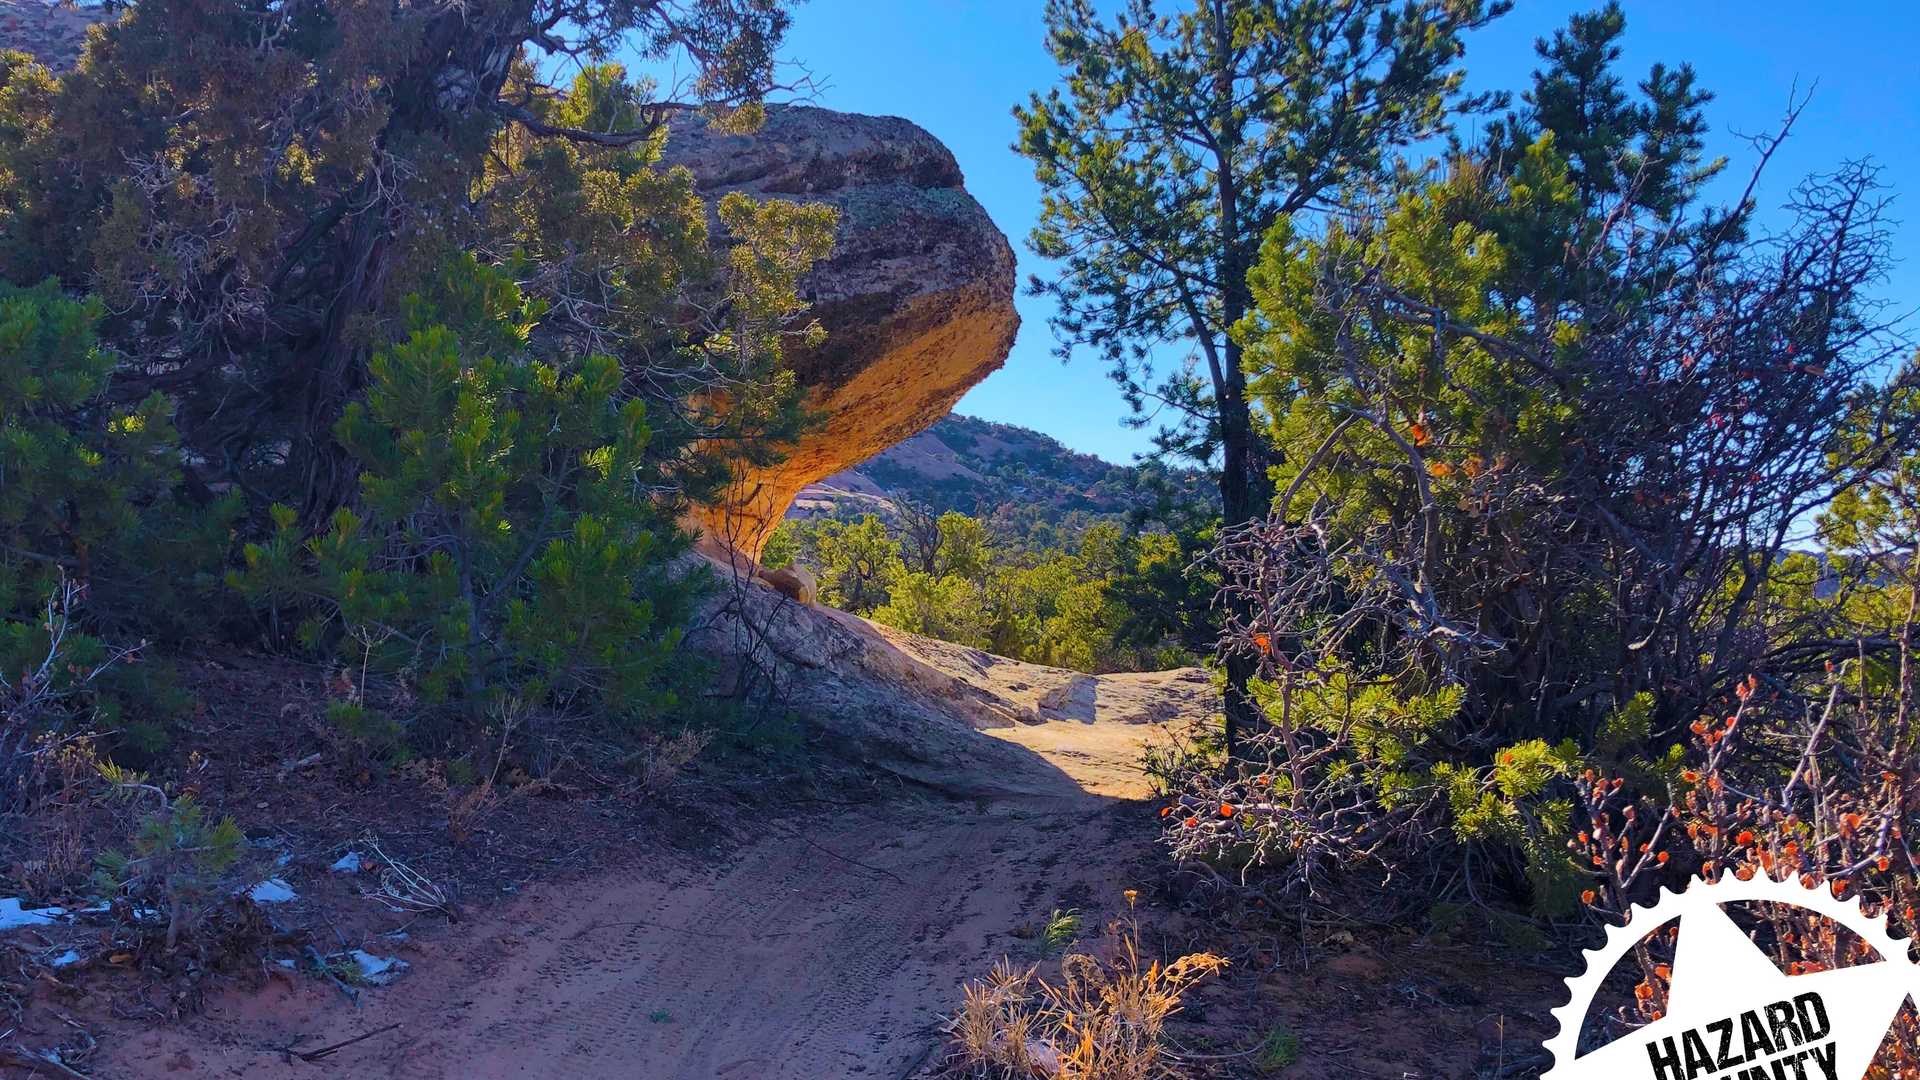
The Raptor Route has quickly become one of Moab’s most popular additions. Although the concept was to offer a "flowier" exit on the Whole Enchilada trail as an alternative to the punishing tech of the traditional LPS and Porcupine Rim, Raptor Route has become the locals’ favorite to ride on its own.
Here is a breakdown of the route to help you plan your ride.
🦅 The Four Sections of Raptor Route
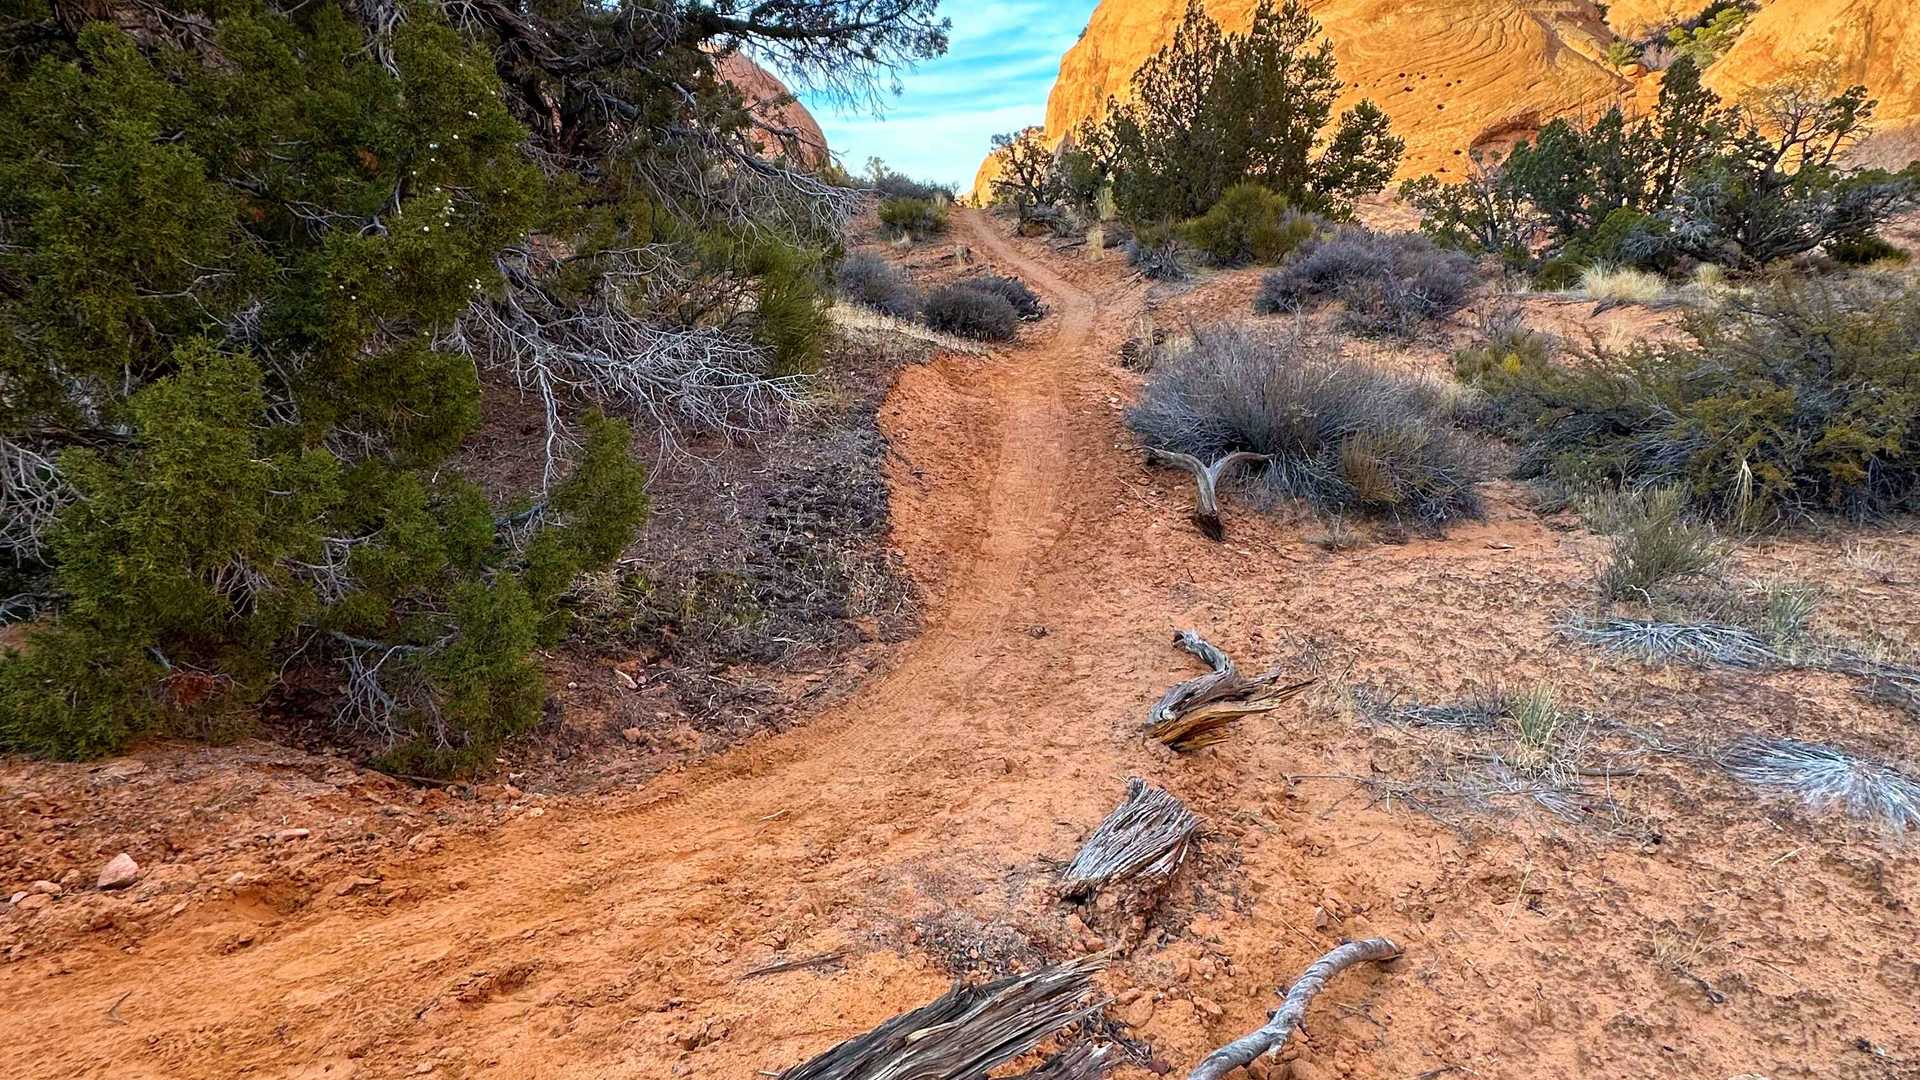
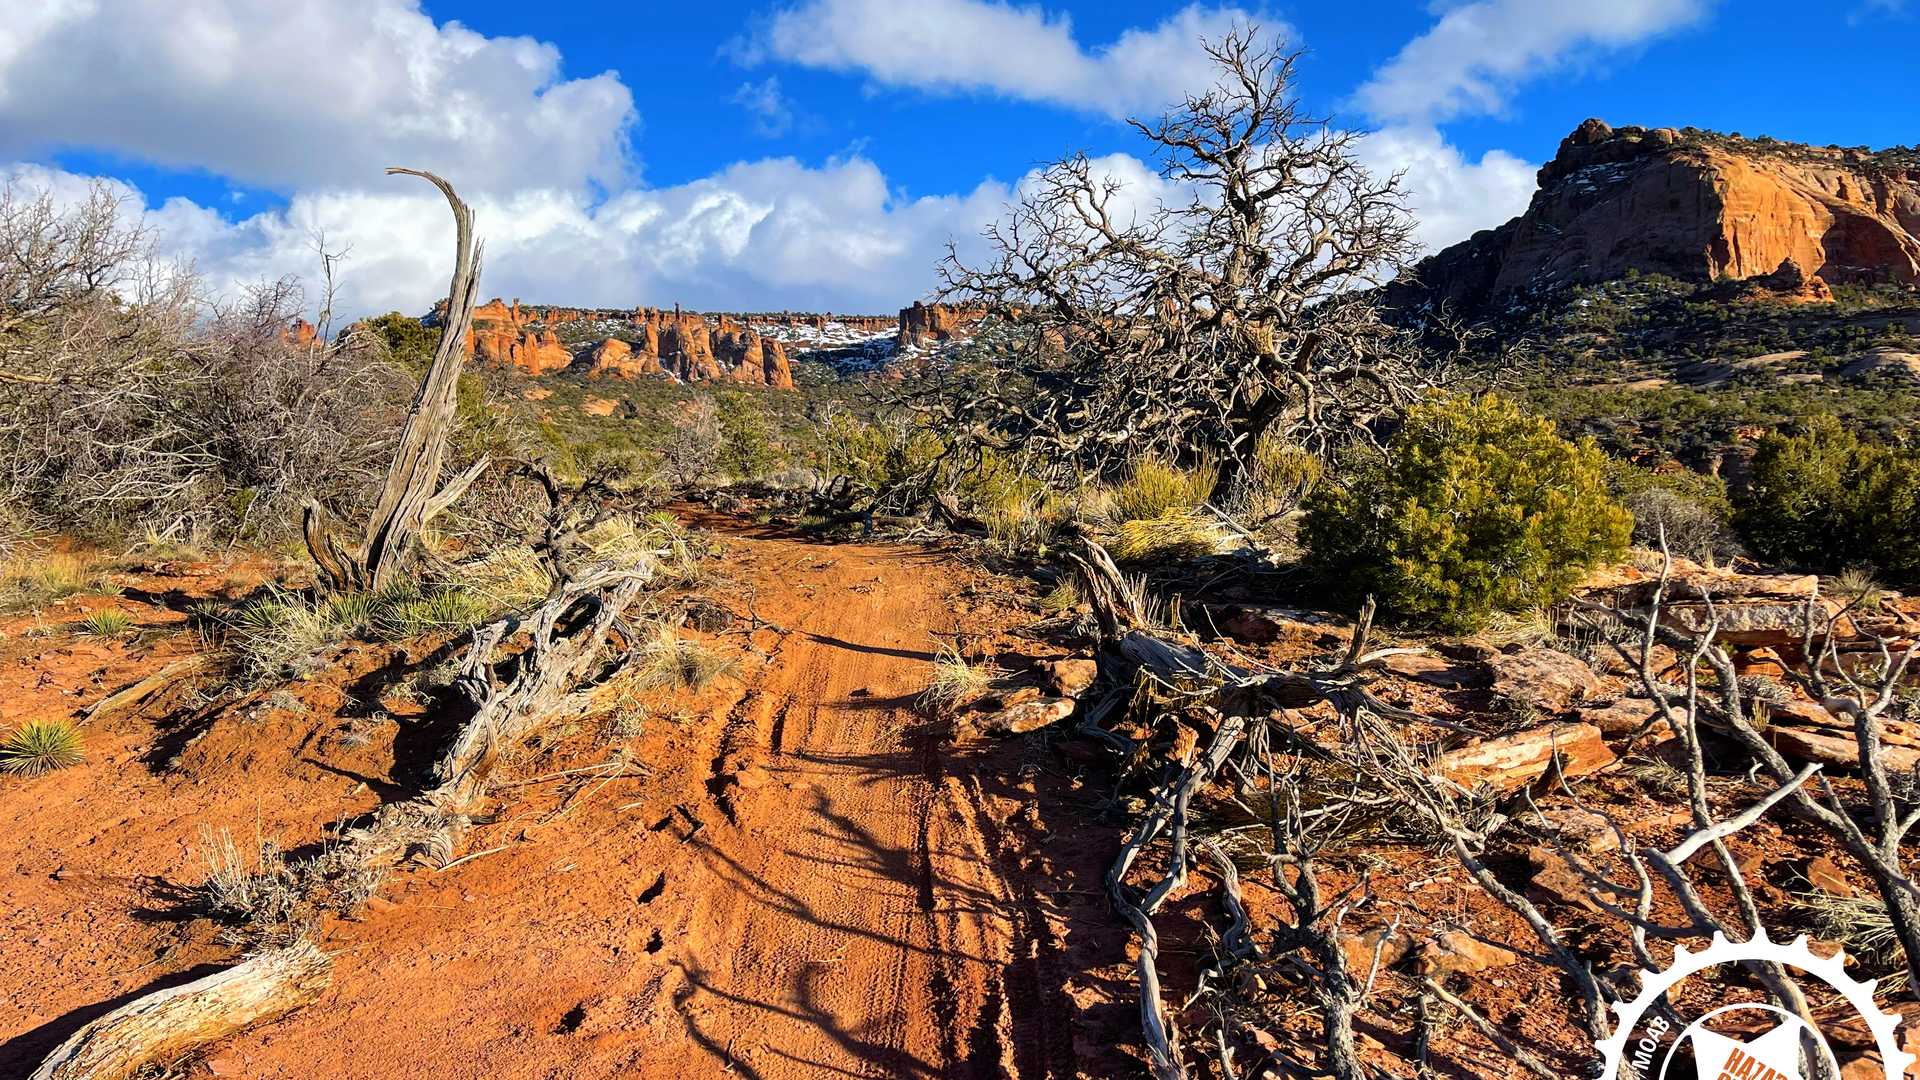
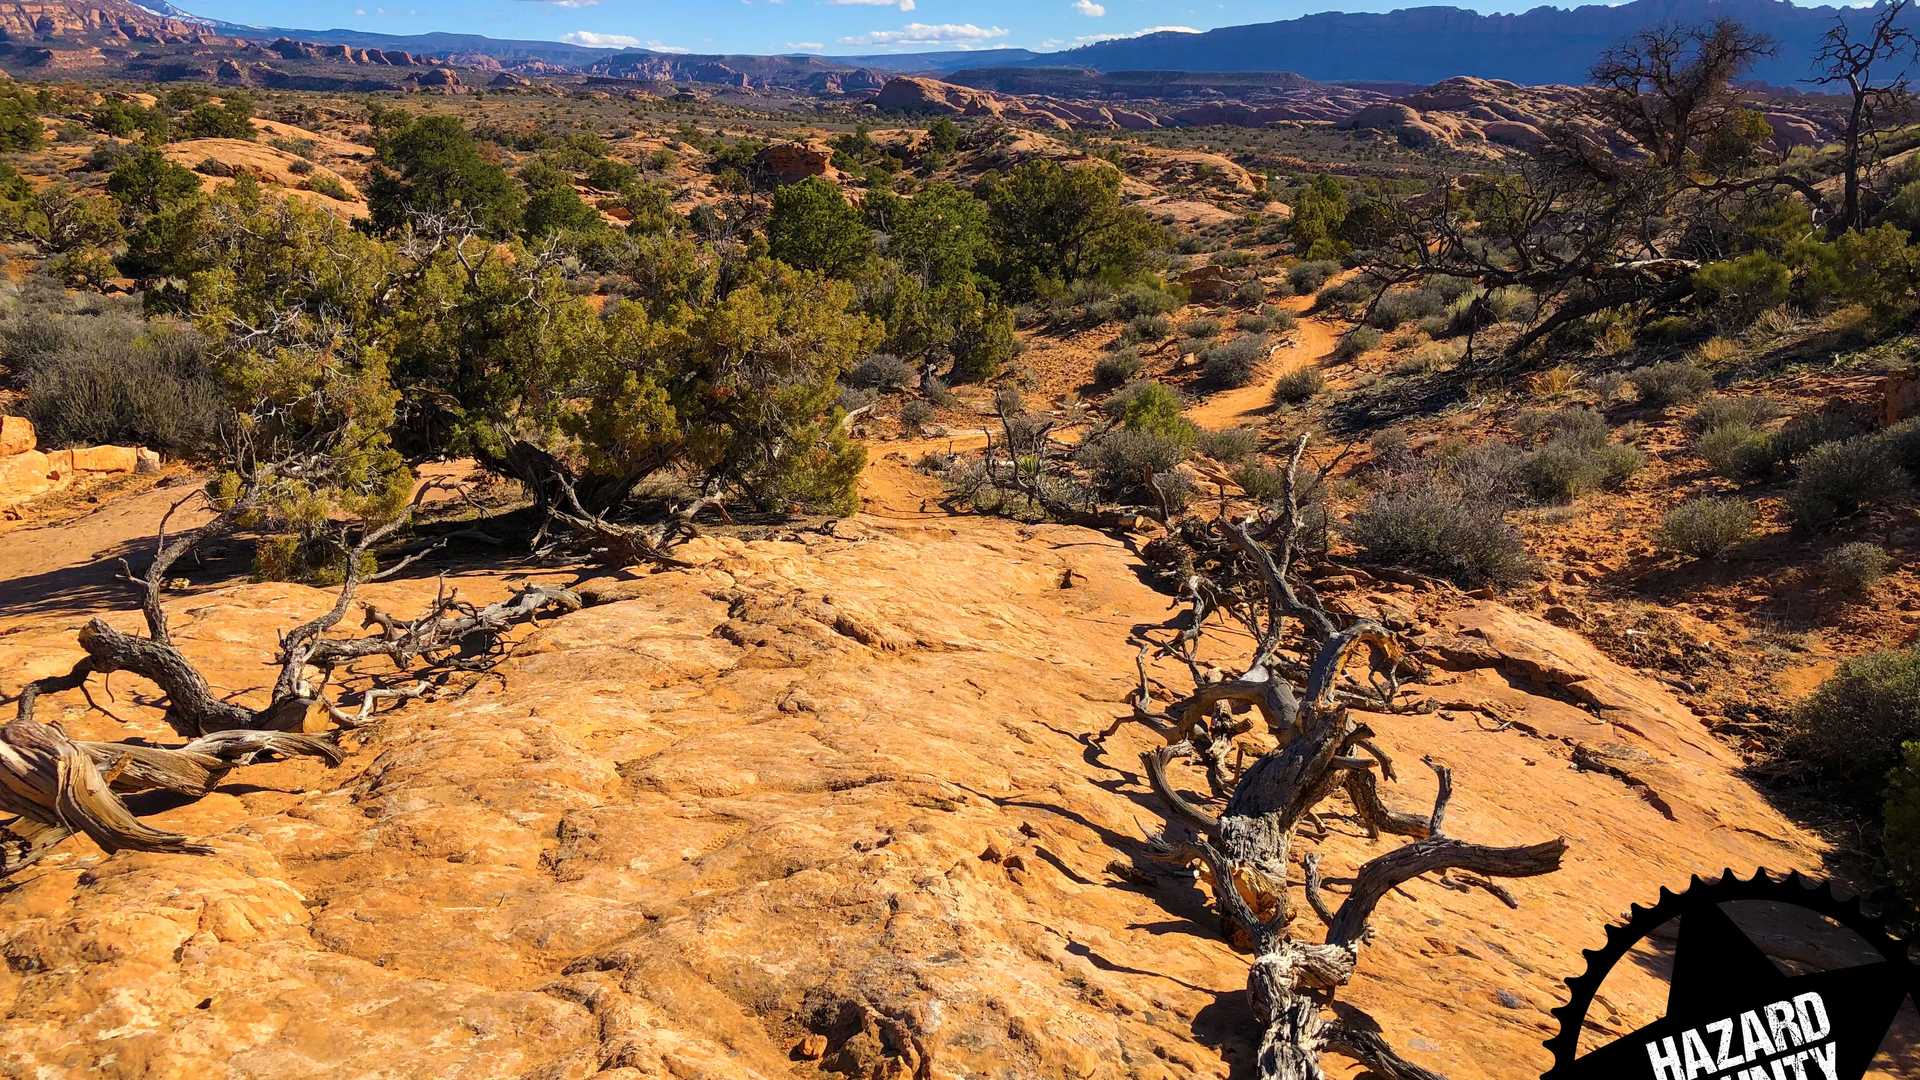
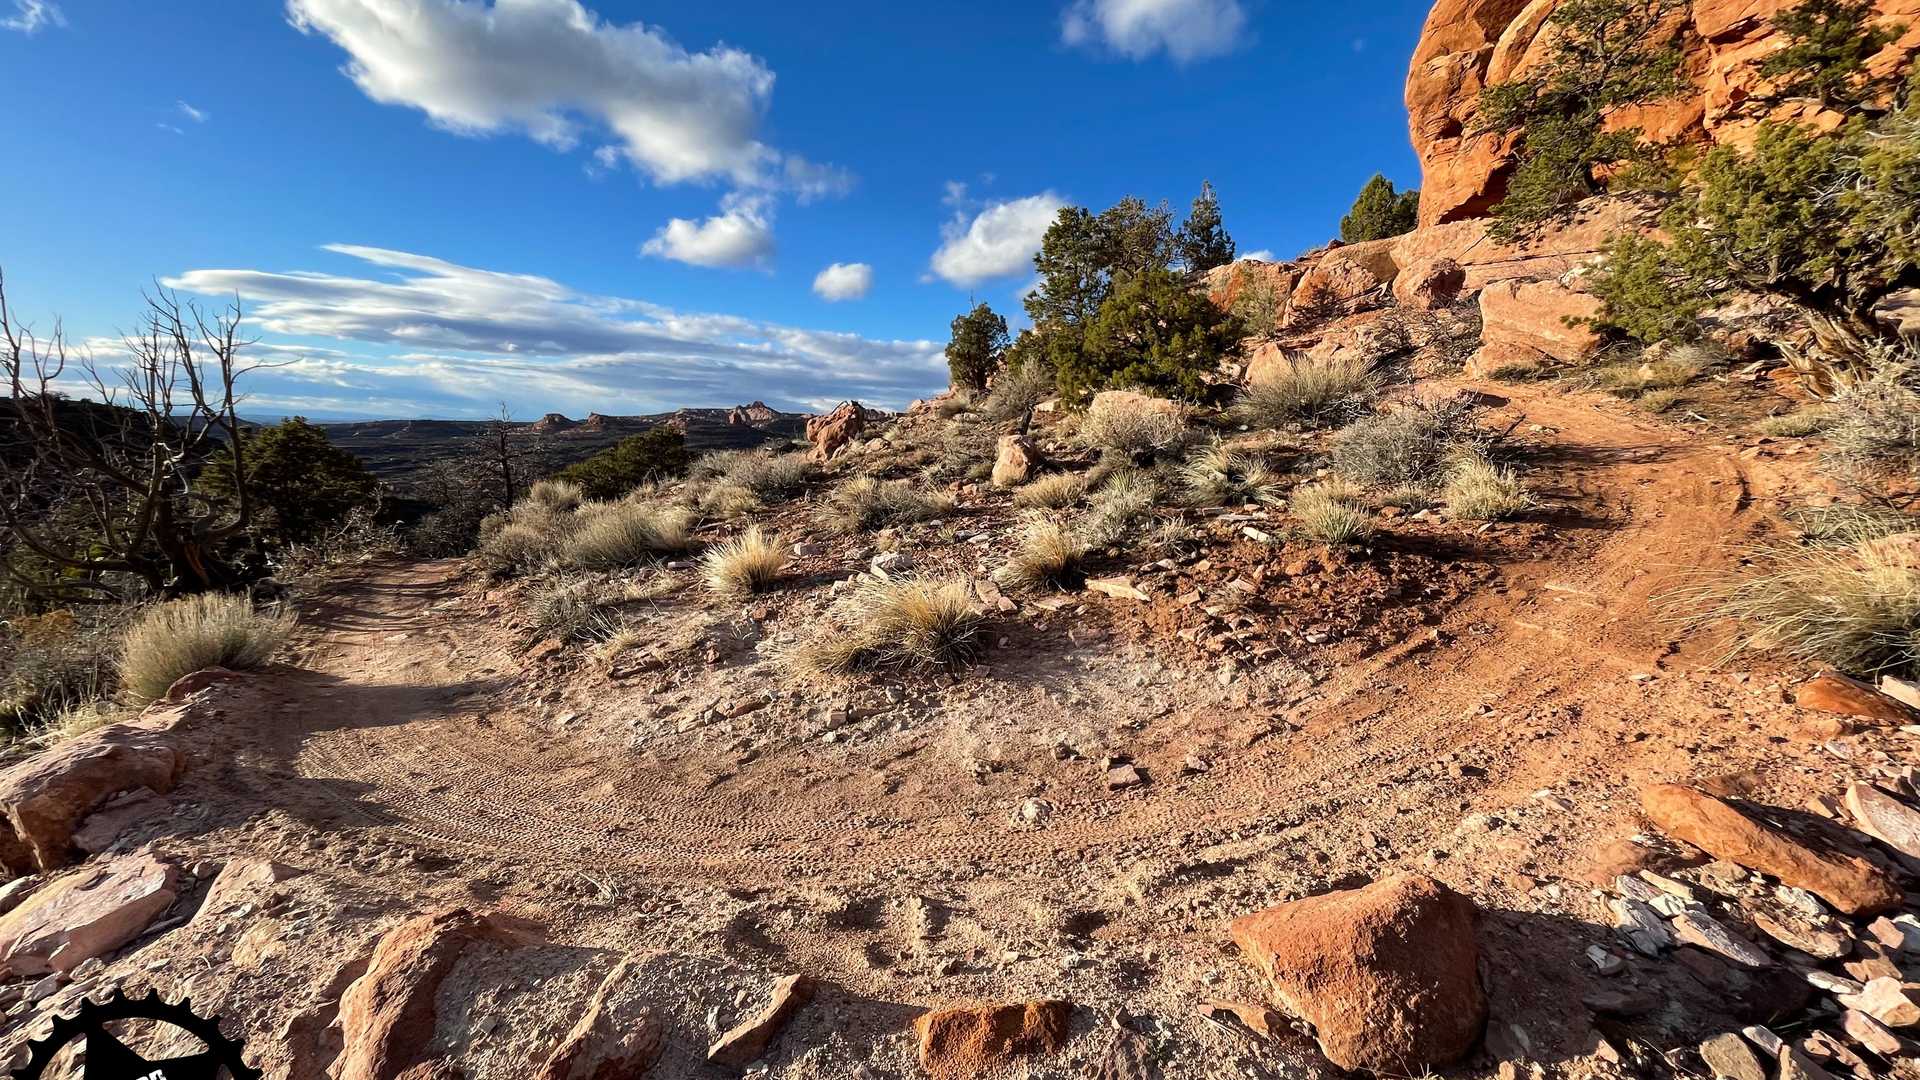
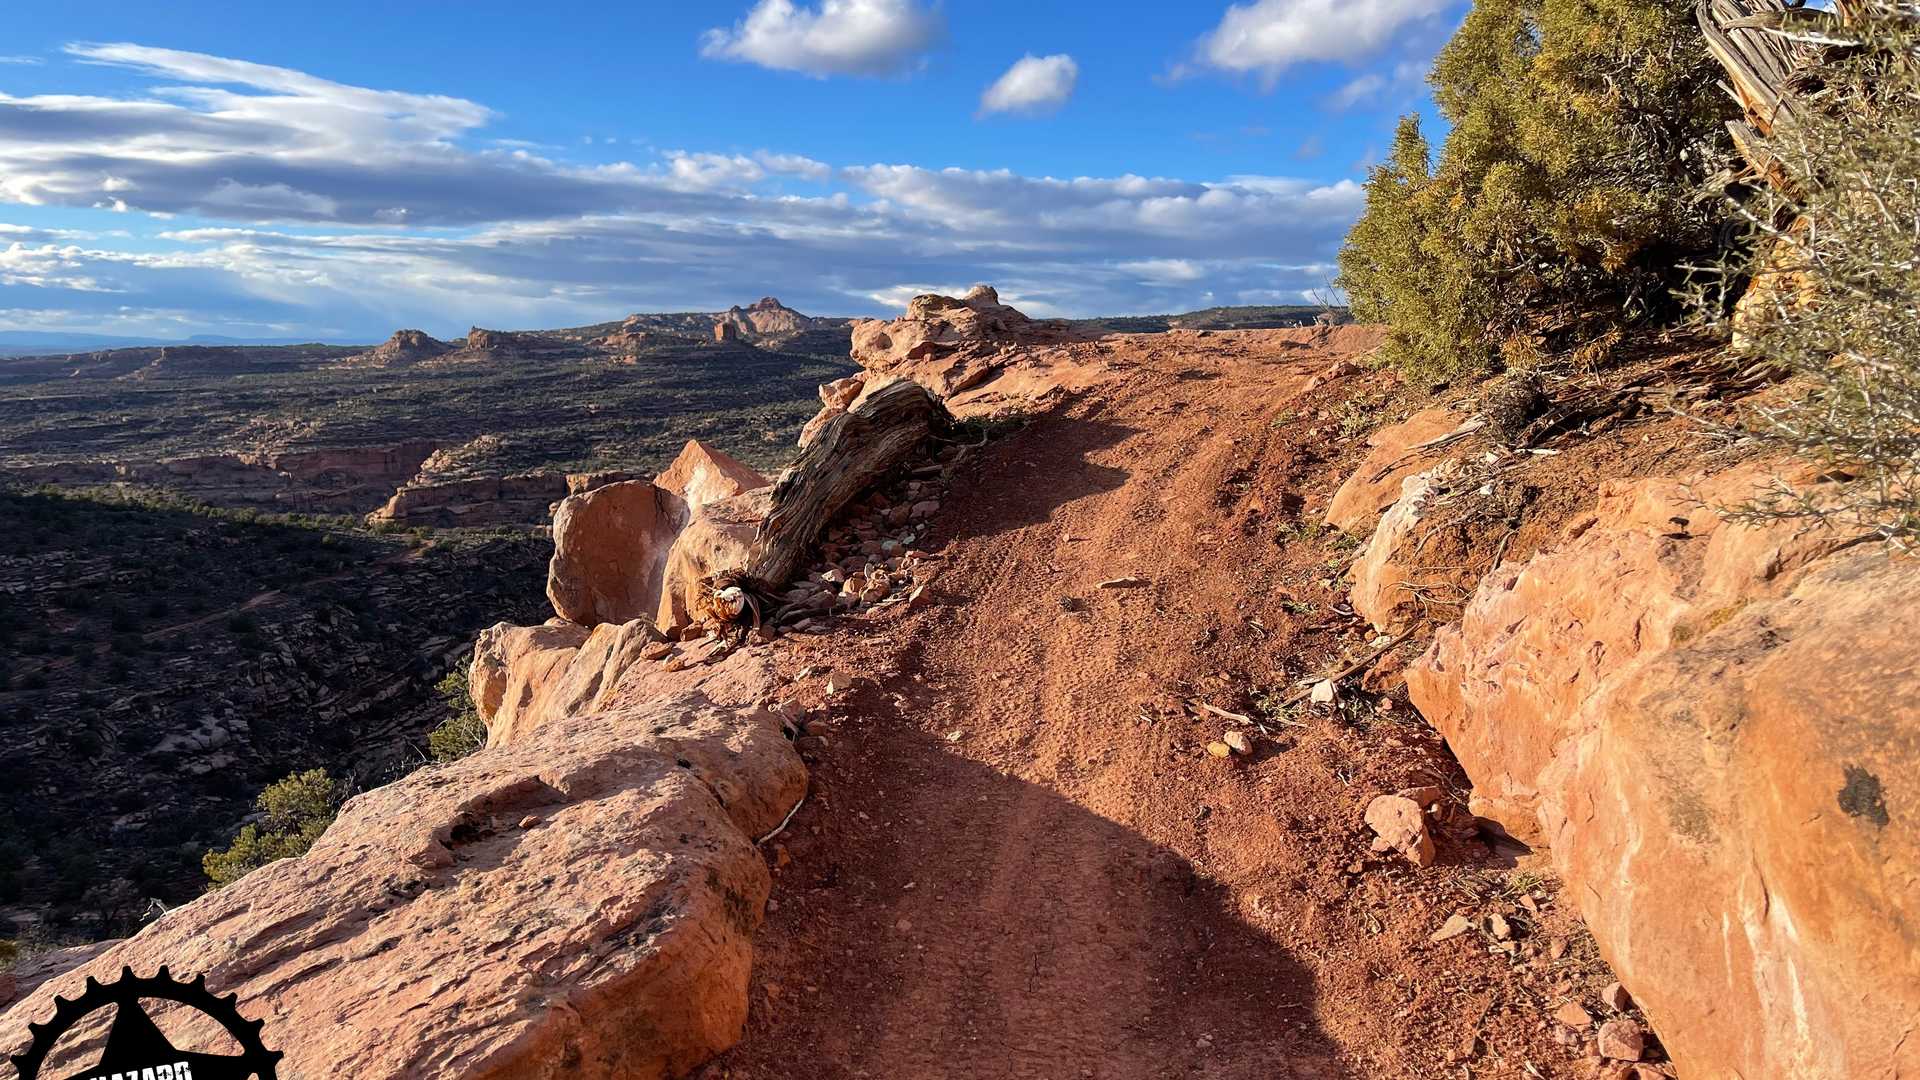
The Raptor Route trail system consists of four distinct trails that link together for one continuous flow.
| Trail | Length | Difficulty | Highlights |
|---|---|---|---|
| Eagle Eye | 2.3 Miles | Intermediate | High-alpine start; great flow; opened 2021. |
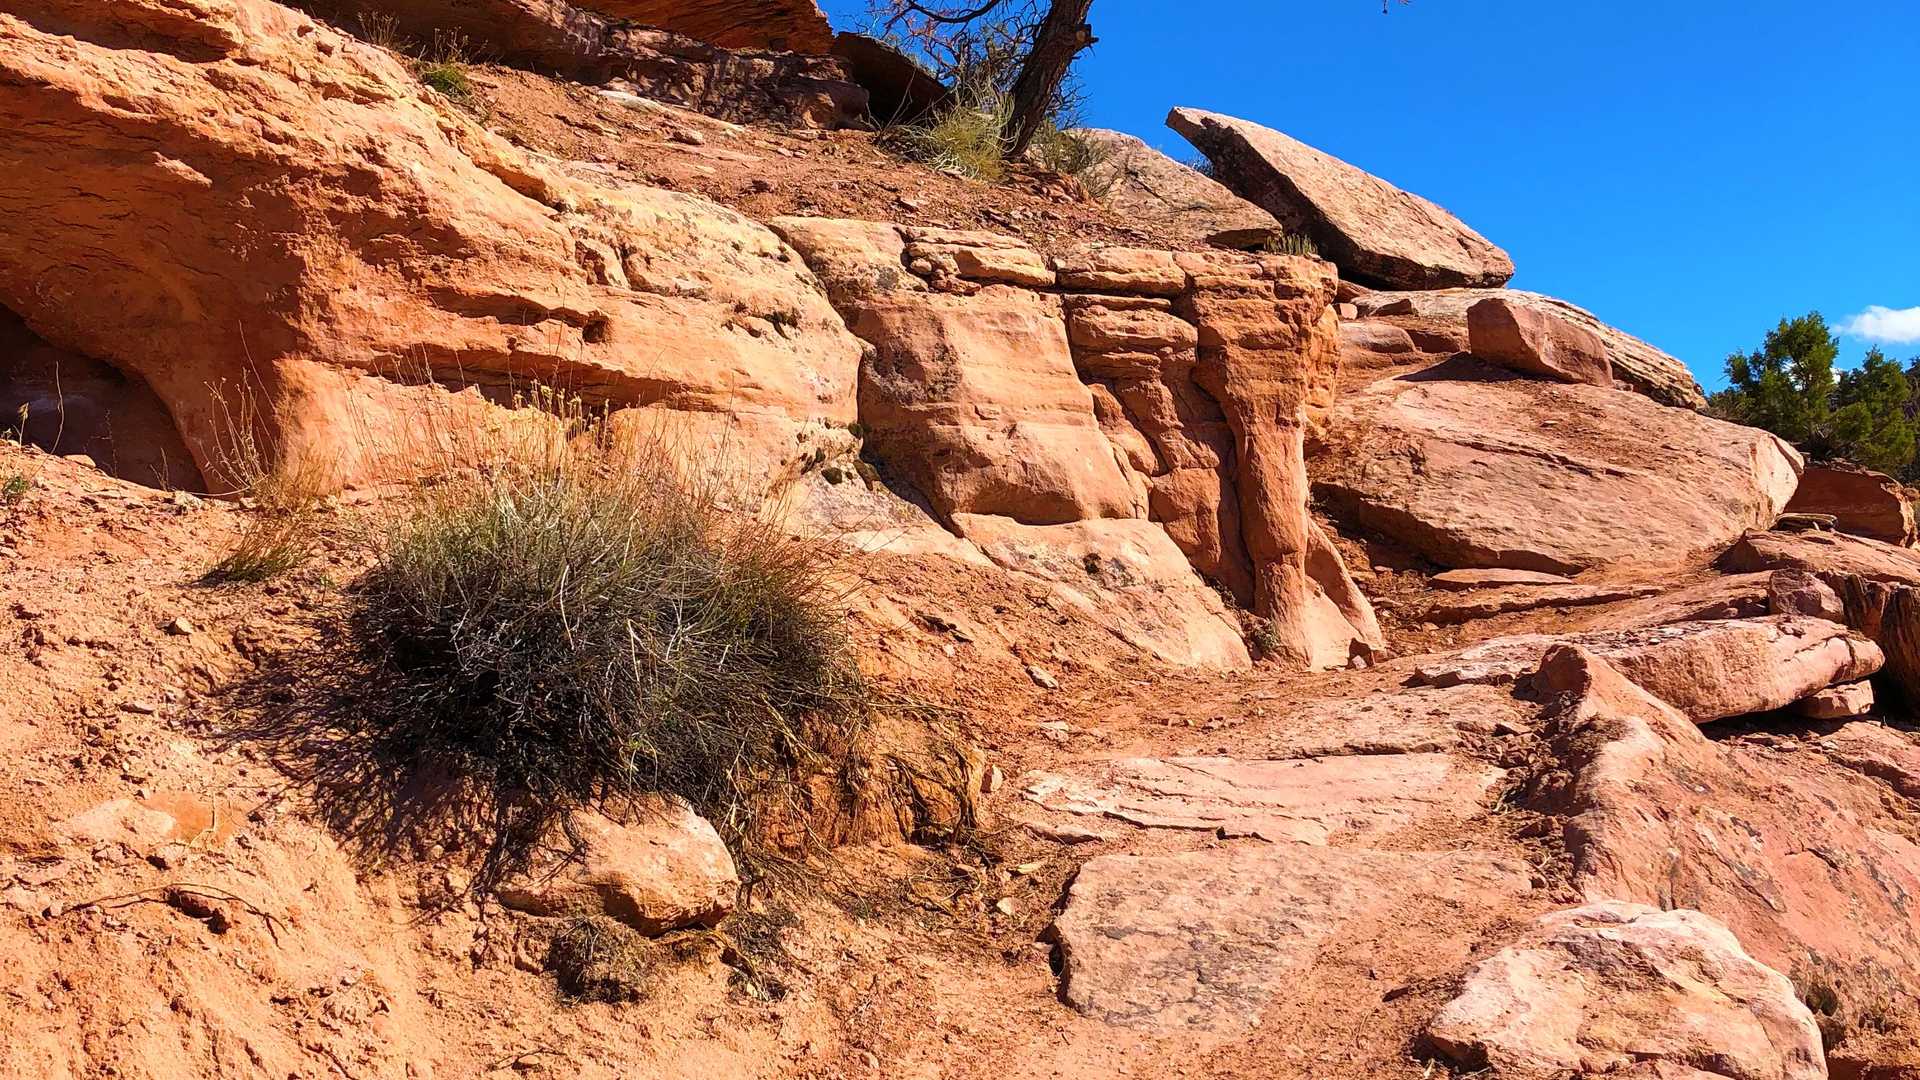
| Hawk’s Glide | 2.0 Miles | Advanced | Black diamond switchbacks; minor cliff exposure; 360° mountain views. |
| Falcon Flow | 5.7 Miles | Intermediate | The "classic" section; fast, rhythmic, and less chunky than typical Moab tech. |
| Kestrel Run | 2.0 Miles | Intermediate | The final connector (opened 2023) that completes the system to the bottom. |
🚵 Strategy: The "Smarter" Whole Enchilada
Riding the Whole Enchilada is a bucket-list item, but the traditional finish down Porcupine Rim is notorious for breaking bikes and bodies. Using Raptor Route as your exit is a game-changer for two reasons:
- Energy Management: You get a world-class descent without "wrecking" yourself on the brutal lower rock gardens.
- The "Fresh Legs" Rule: By exiting via Raptor, you can save LPS and Porcupine Rim for another day. Riding those technical sections fresh allows you to find better lines and ride faster/safer than you would while fatigued. It provides for a much more pleasurable experience allowing you to ride the trail rather than survive it. Lastly, Search and Rescue has the highest incident rate of crashes and injuries on Porcupine Rim from fatigued Whole Enchilada riders.
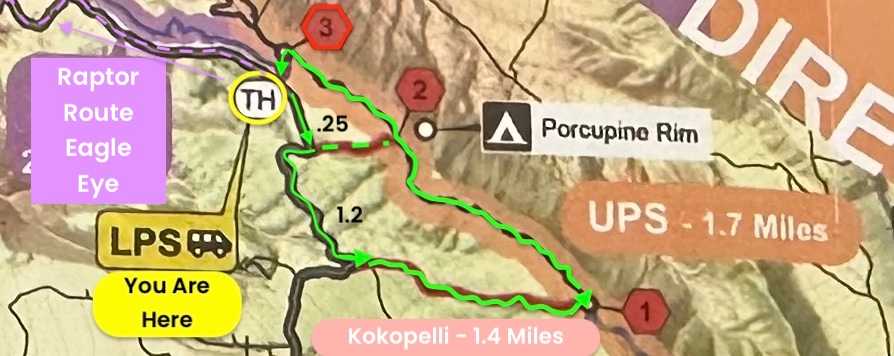
🌲 Extending Your Ride (UPS Access)
If you want to maximize your time on the ridge before dropping into Eagle Eye, you can add UPS (Upper Porcupine Singletrack) to your route:
- For the full UPS experience: Pedal 1.2 miles up to the Kokopelli entrance, then another 1.4 miles to the trailhead. Note: This adds ~600 ft of climbing.
- For Lower UPS: Pedal just 0.25 miles to the Porcupine Rim Campground.
- The Connection: Exit UPS at Stop Sign #3 (LPS/UPS connector) to drop straight into Eagle Eye.
🚗 Pro Logistics Tip
Park at the Kestrel Run Parking Lot. Do not park in town unless you want a grueling 6–8 mile pedal back to your car on pavement at the end of a long day. Parking at the trailhead ensures you finish right where you started.
Note: While these trails are "flowy," they are hand-built. Expect a natural feel with rocks and dirt rather than the perfectly smooth, manicured berms found in machine-built bike parks.
Raptor Route Trail Legality: I understand that E-MTBs are ONLY legal on Hawk’s Glide, Falcon Flow, and Kestrel Run.
Prohibited Trails: I acknowledge that E-MTBs are NOT legal on Eagle Eye or any section of the Whole Enchilada (including Porcupine Rim Singletrack & LPS).
The Shuttle Rundown: How it Works
1. Lock It In
Secure your spot online. Our shuttles fill up fast, especially during peak season. Booking early is the only way to guarantee you aren’t left standing at the trailhead while your buddies are dropping in.
2. Gear Up & Load Out
Meet us at your designated pickup point. We aim to arrive 15 minutes early to get your rigs professionally loaded and secured on our racks.
Pro Tip: Be ready to roll. We depart exactly on schedule to ensure you get maximum daylight on the dirt.
3. The Cruise
Rest the legs and enjoy the view. We handle the white-knuckle driving, washboard roads, and tricky canyon navigation. You just focus on the descent ahead while we get you to the top in comfort.
4. The Drop In
We hit the trailhead, unload the bikes, and set you loose. Depending on your booking, your finish line looks like this:
- Trailhead Departures: If you parked at the bottom (Point A to Point B), your vehicle will be waiting for you when you finish the trail.
- In-Town / Shop Departures: If we picked you up at the shop, enjoy the ride down—there’s a short pedal back to town at the end.